Codeium in Visual Studio Code
Install the Codeium extension in Visual Studio Code, and start seeing suggestions as you write comments and code.
Also works for browser-based VSCode IDEs such as GitPod and Codespaces!
After installing, follow the auth prompt in your editor to get started with Codeium. See detailed instructions below.
Manual Installation
1
Open Extension Marketplace
In Visual Studio Code, open up the Extension Marketplace, which is the icon with boxes on the primary sidebar.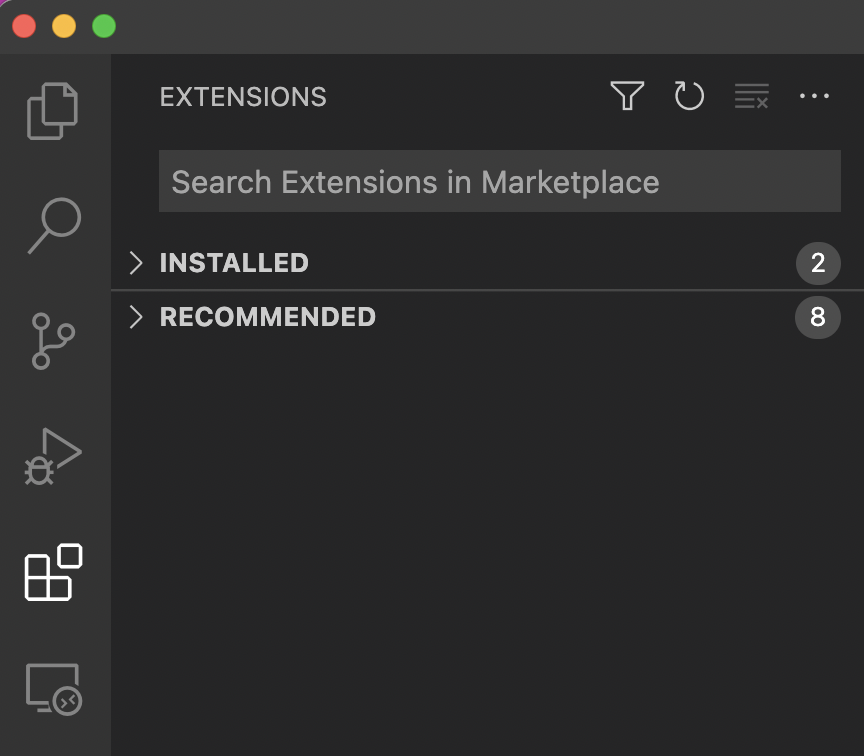

2
Install Codeium
Type Codeium in the marketplace search bar, open up the page and click the blue Install button.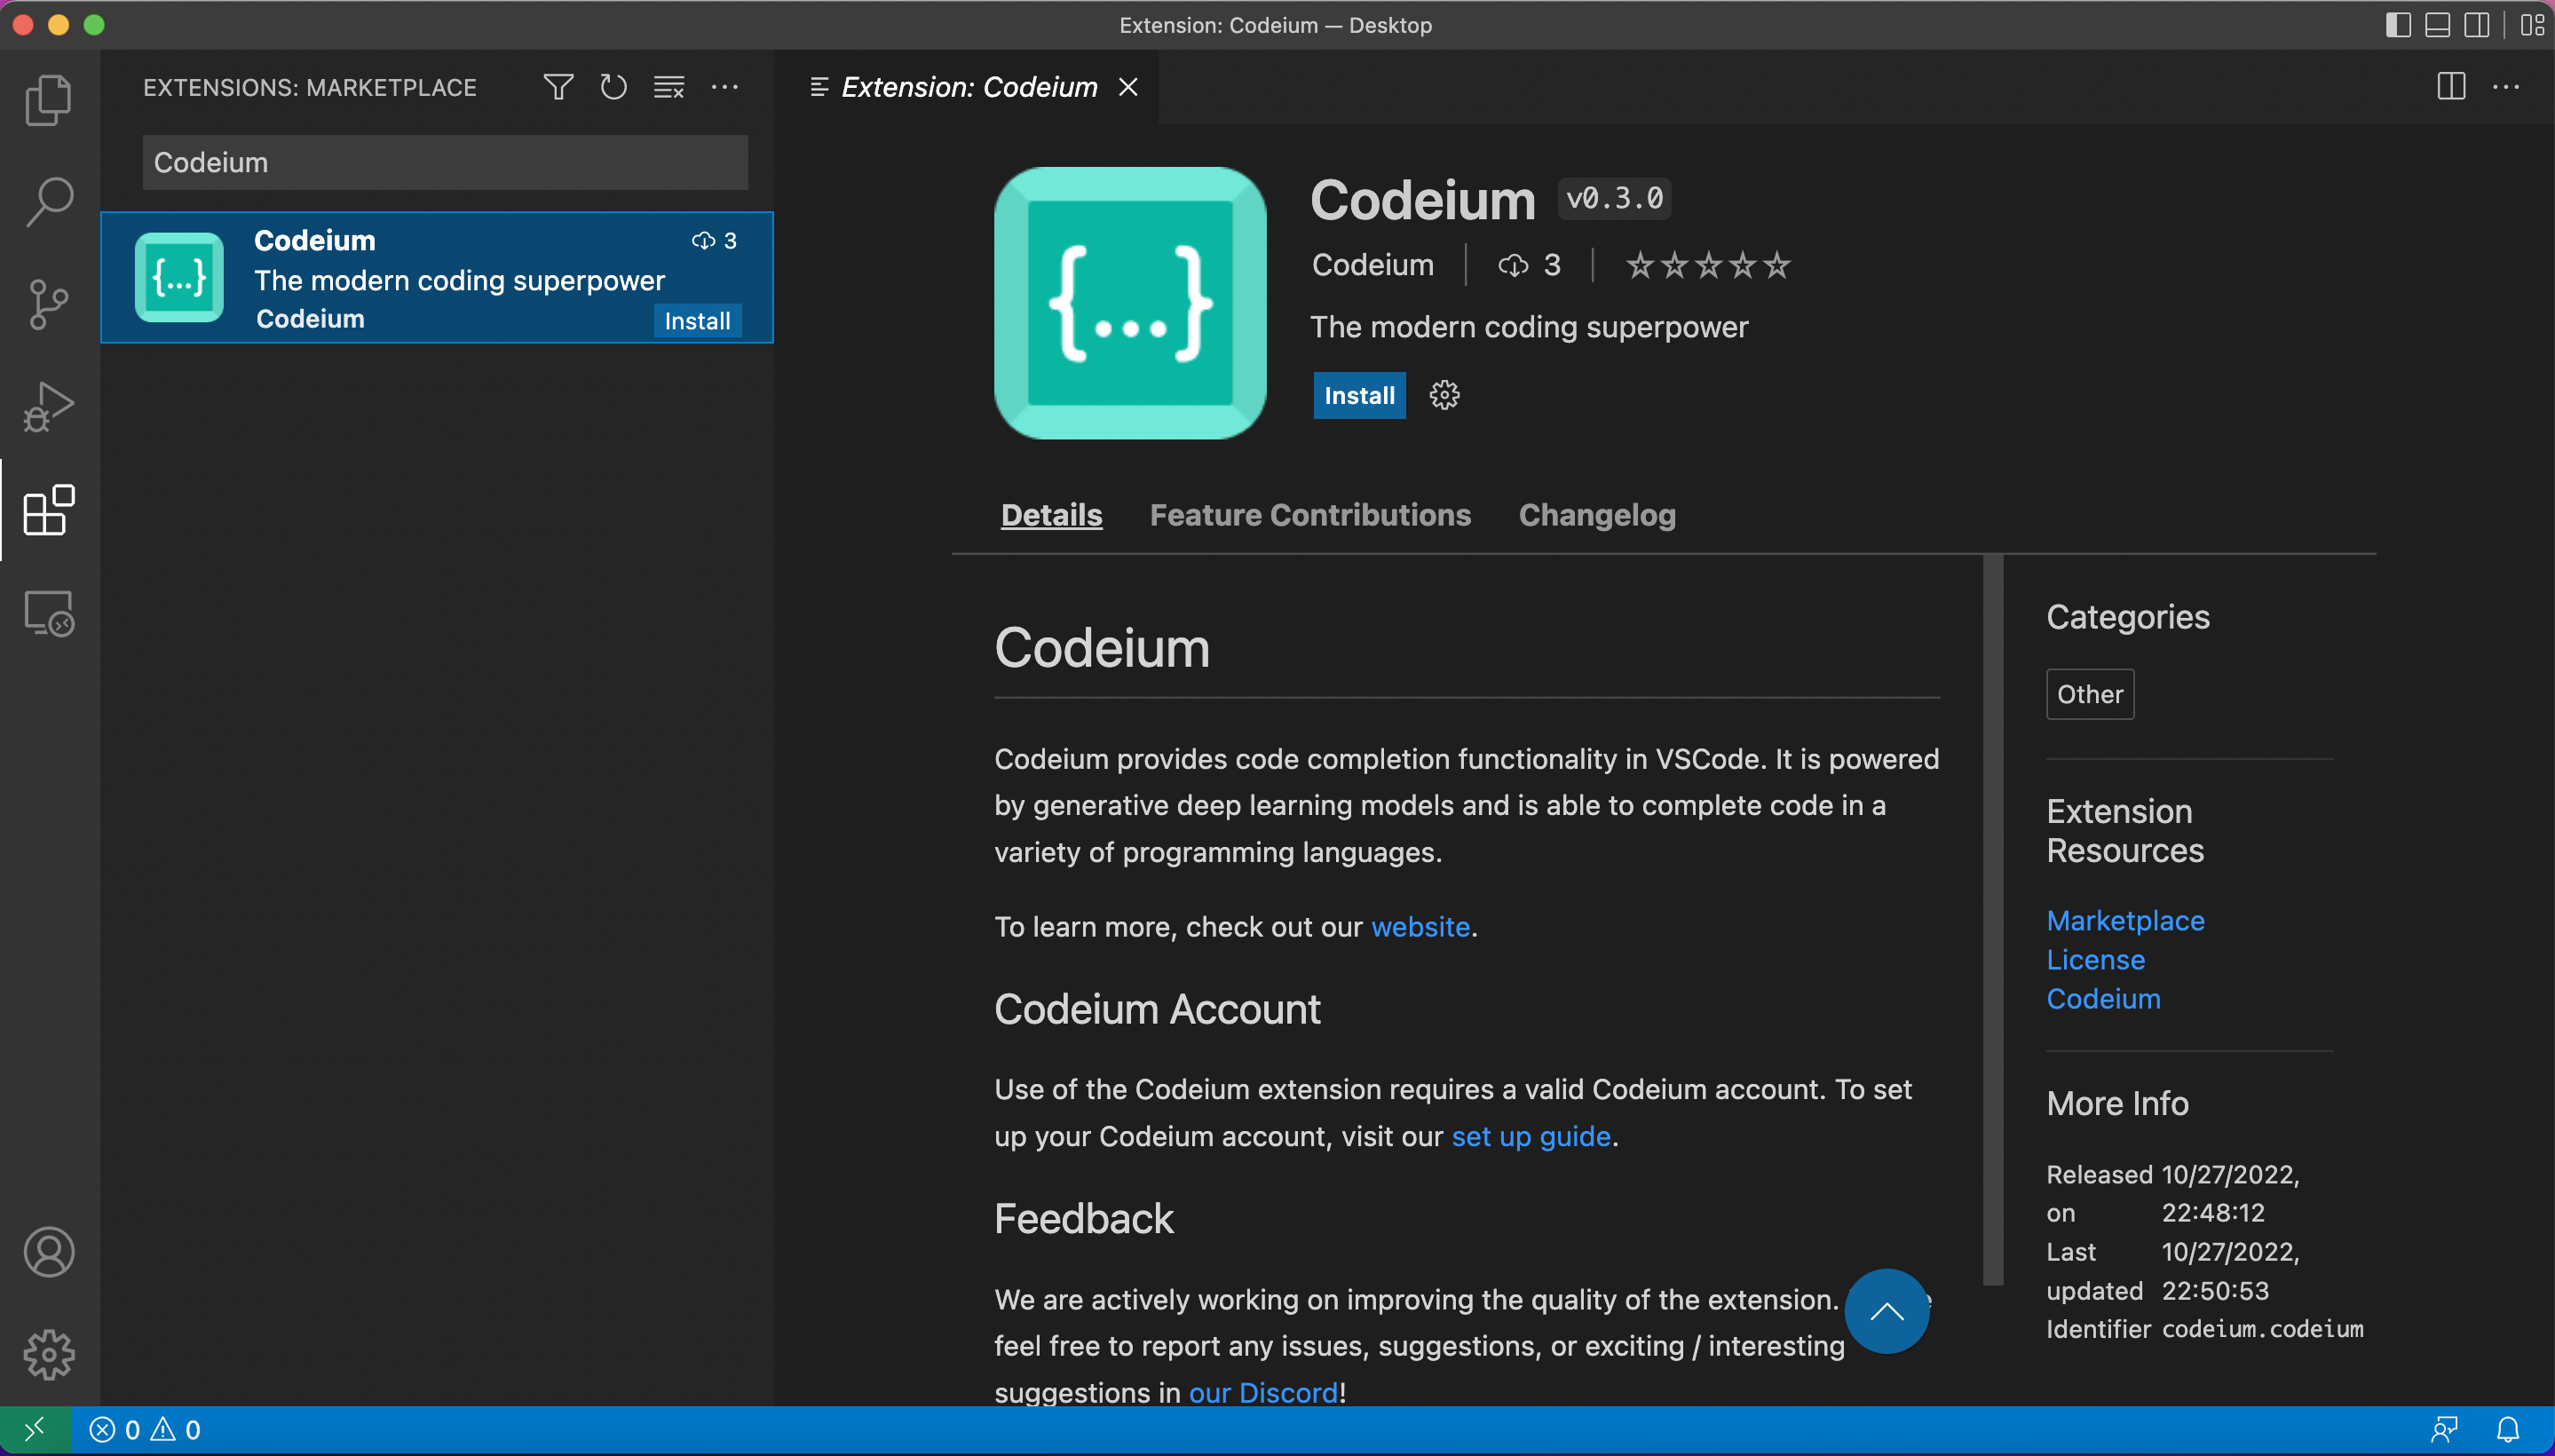

3
Authorize
After installation is complete, you should be prompted by Visual Studio Code with a pop-up on the bottom right to authorize Codeium. If not, you should see an option to sign in to your Codeium account in the bottom left Accounts tab of your Visual Studio Code window.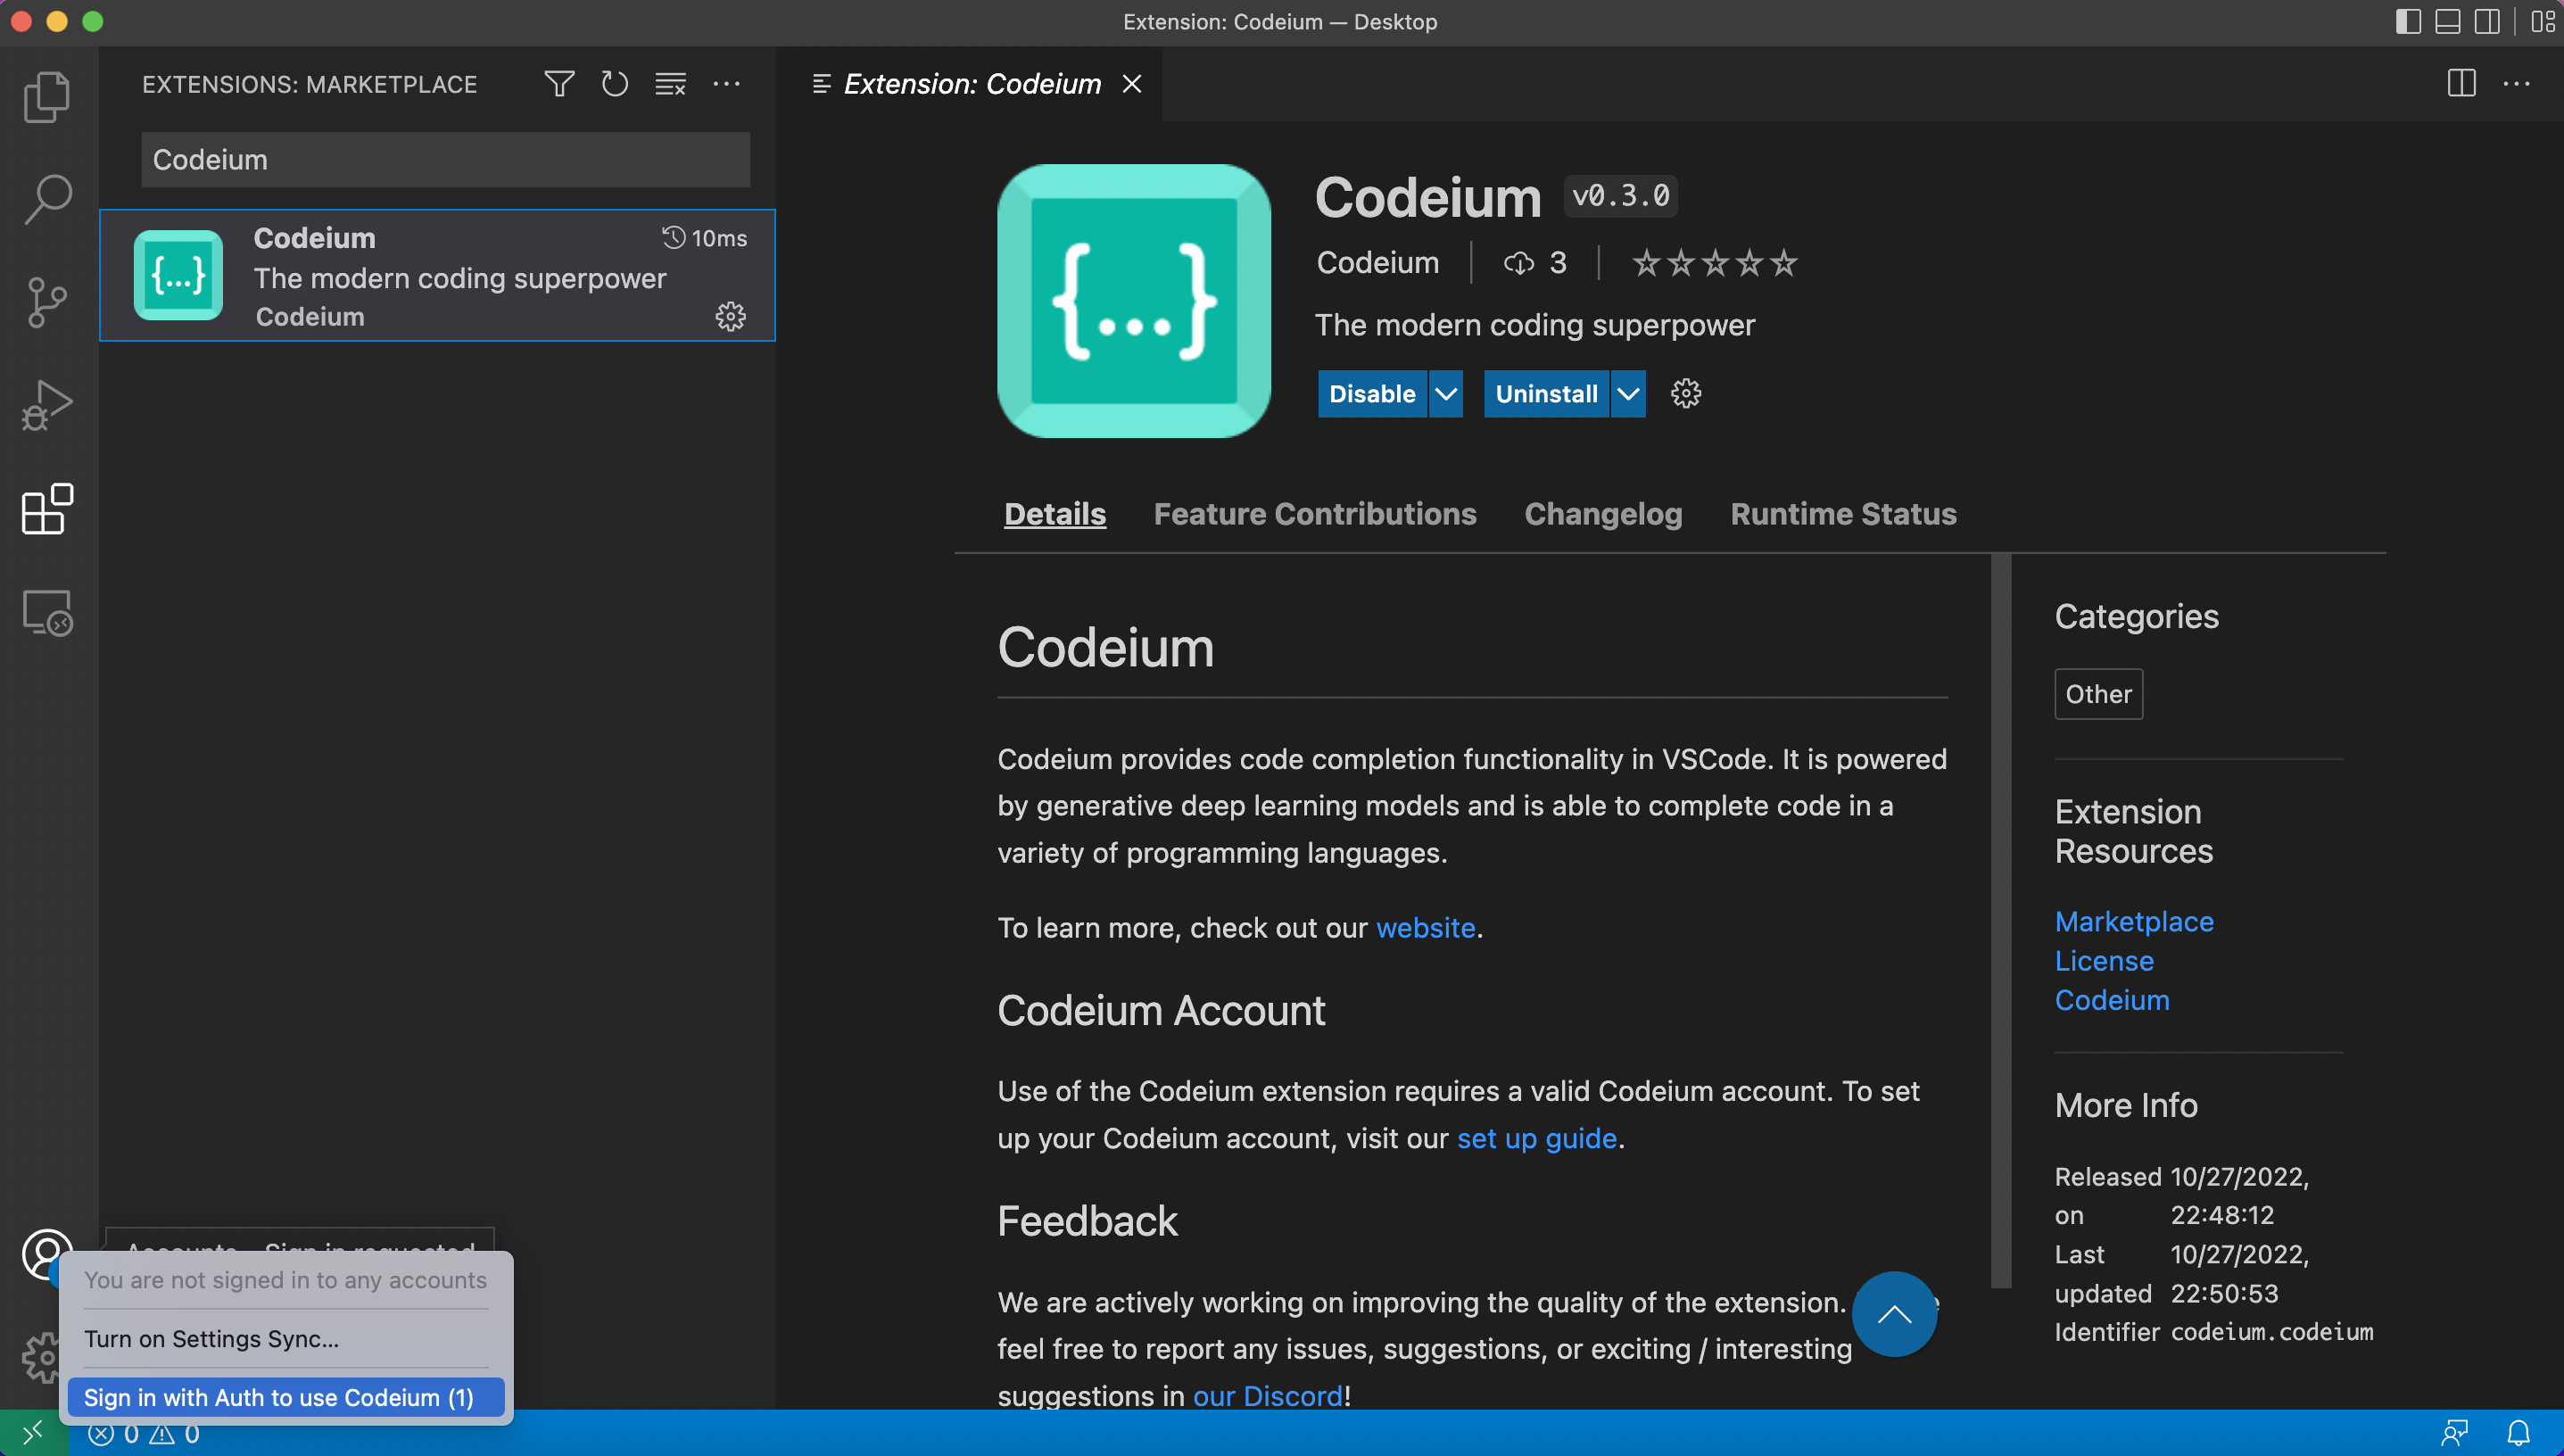 Click the Sign in with Auth to use Codeium option. Either method (popup or Accounts tab) should redirect you to the Codeium website.
Tip: If you get an error message saying that the browser cannot open a link from Visual Studio Code, you may need to update your browser and restart the authorization flow.

Tip: If you get an error message saying that the browser cannot open a link from Visual Studio Code, you may need to update your browser and restart the authorization flow.
4
Create Account
If you do not have a Codeium account yet, you will be redirected to create an account.
Why do we require an account? In order to remove abuse of the product and make sure that we know you are an early user, we ask to authorize Codeium extensions with an account before use. We do not use, share, or sell any identifying information for any purpose.
Why do we require an account? In order to remove abuse of the product and make sure that we know you are an early user, we ask to authorize Codeium extensions with an account before use. We do not use, share, or sell any identifying information for any purpose.
5
Sign In
If you are not signed in, please sign in with your account details. Once you sign in, you will be redirected back to Visual Studio Code via pop-up.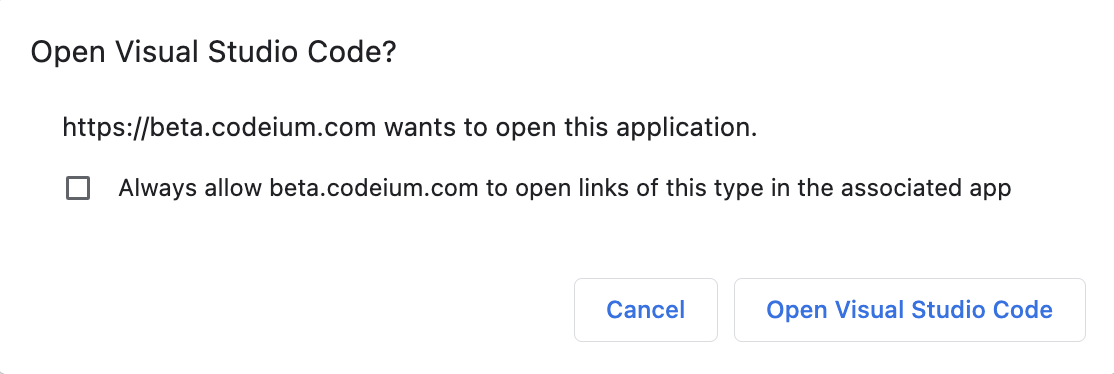 Click Open Visual Studio Code, which should redirect you back to Visual Studio Code.
If you are using a browser-based IDE, instead of being redirected back with pop-up, you will be routed to instructions on how to complete authentication by providing an access token. Please follow these instructions instead of Step 6, and then continue on with "Using Codeium."

If you are using a browser-based IDE, instead of being redirected back with pop-up, you will be routed to instructions on how to complete authentication by providing an access token. Please follow these instructions instead of Step 6, and then continue on with "Using Codeium."
6
All Done!
You will be asked to confirm the authentication in Visual Studio Code (click Open in the resulting pop-up).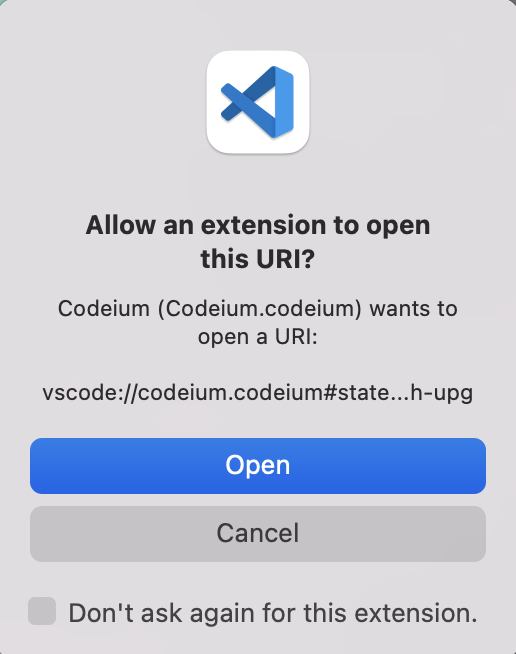 After confirming, you should see a little welcome message on the bottom right of your Visual Studio Code window if authorization was successful. You're all set to use Codeium!


Use Codeium
1
Setup
While Codeium supports many languages, we will demonstrate with examples in Python. In Visual Studio Code, create a new Python file test.py.
2
From Code
Codeium can suggest multiple lines of code given a fragment of code that you write! Give the following simple header a shot: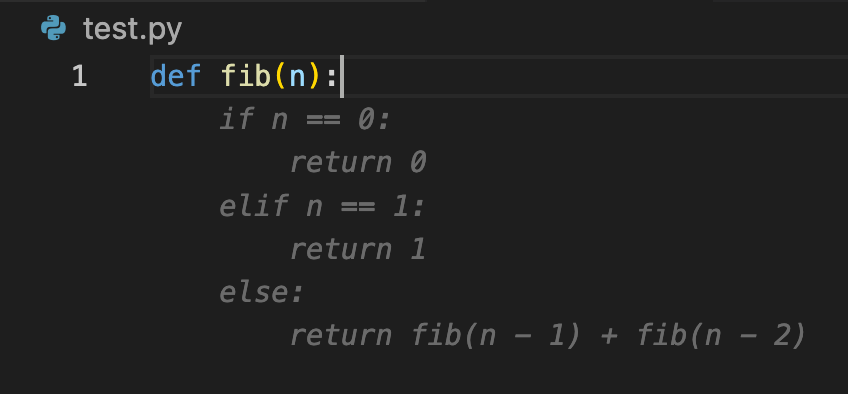 Note: You may get slightly different results. This is due to a constantly improving model and sampling to increase the diversity of code generated.
Codeium should generate an entire function body in grayed text, giving you a working implementation for the Nth Fibonacci number!

3
Accept Suggestion
If you like the suggestion, just press Tab to accept.
4
From Comments
Codeium can also understand comments, allowing you to get code from just a description of the desired functionality! Let's try the earlier example, except instead just write a comment and def, the Python keyword for functions: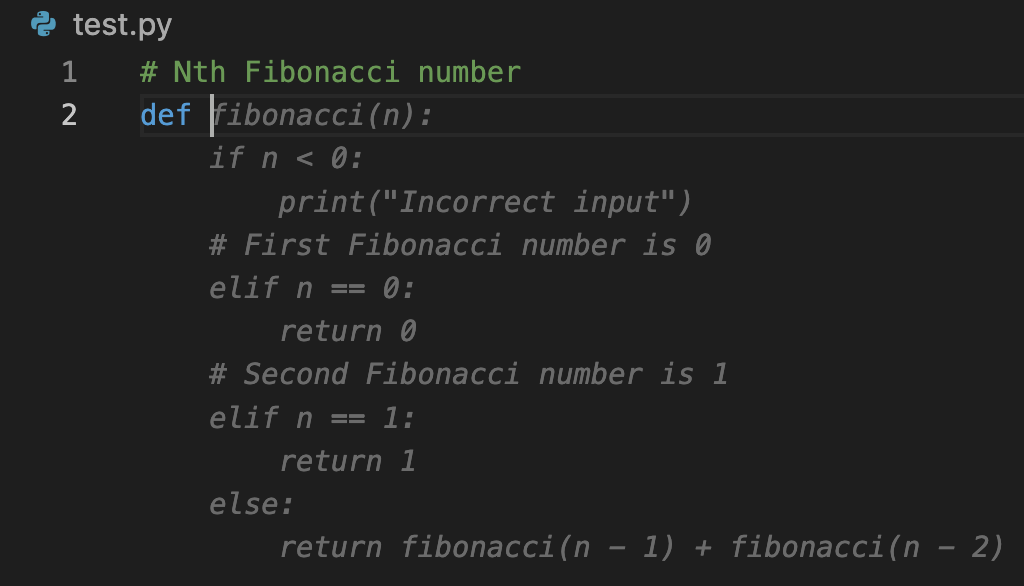
Codeium should generate not just the function body as before, but also the function header!

5
Alternate Suggestions
While Codeium often produces good code on the first try, it can be helpful to toggle between options, especially when there are multiple potential approaches. For example, Codeium might produce the following implementation for rotating a point counterclockwise around an origin by a given angle: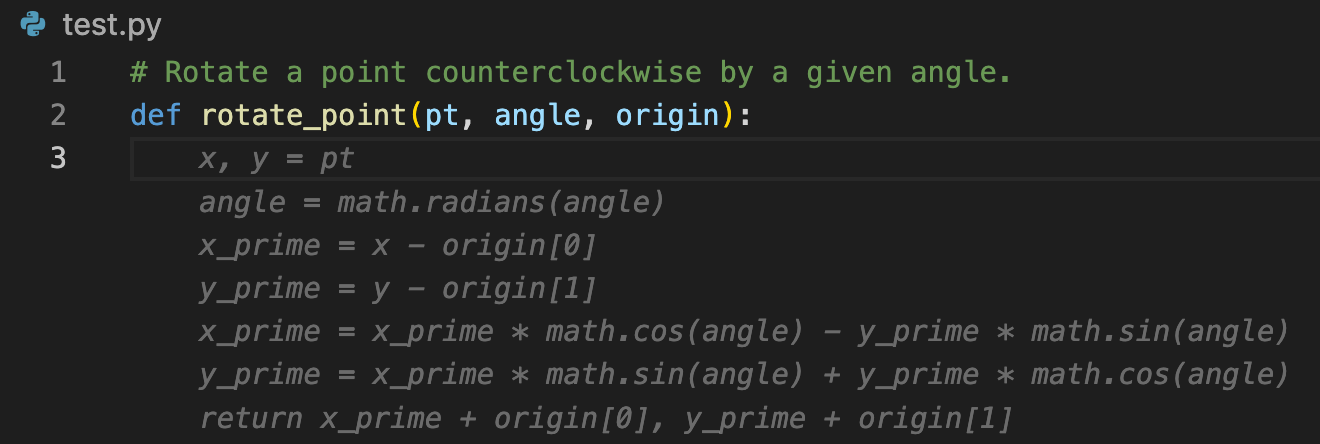 Great! This would work, but maybe you don't like the fact that there are duplicate calls to slower trigonometric functions on the same angle inputs. If you hover over the text insertion point (the start of the Codeium suggestion), you will see options to toggle through options via Next and Previous alongside the standard accept option:
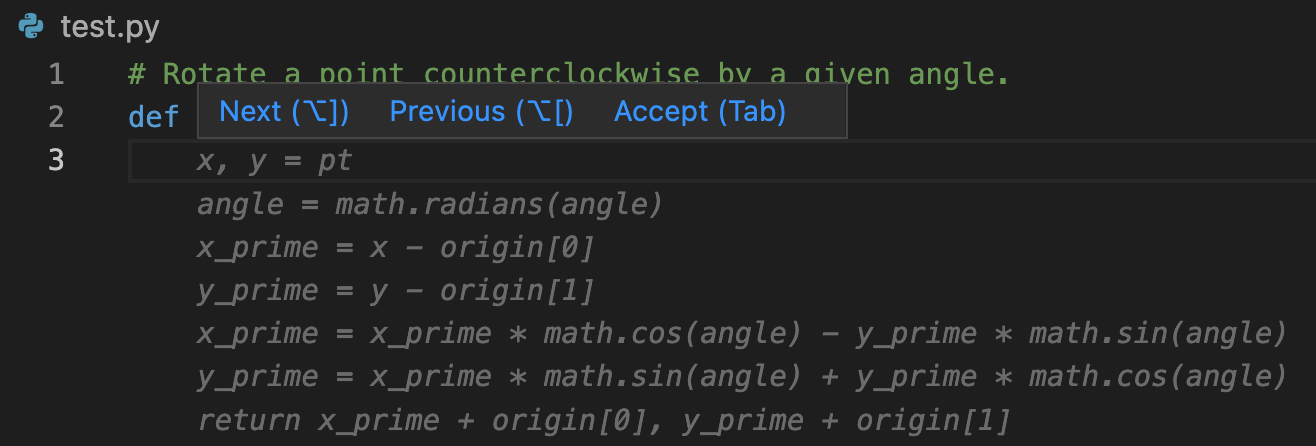 Tip: Just like Tab is the keyboard shortcut for accepting a suggestion, you can use ⌥ + ] and ⌥ + [ (on MacOSX) or Alt + ] and Alt + [ (on Windows / Linux) for Next and Previous respectively.
In this example, looking at the next option gives a completion where the trigonometric functions are computed only once: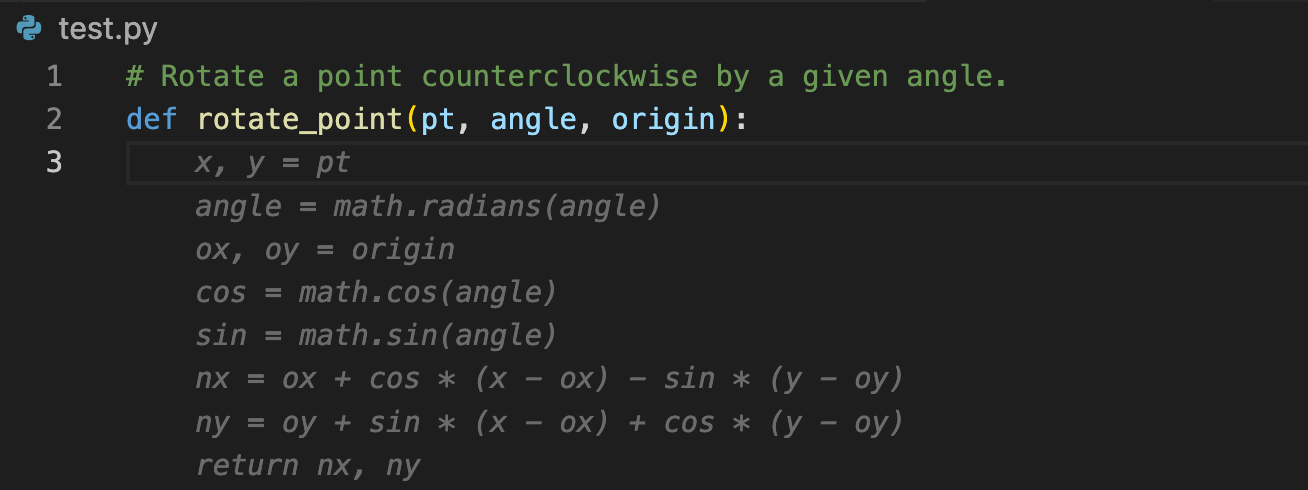 Note: if these options are grayed out (or the shortcuts are not changing the suggestion), this is because Codeium believes there is only one high probability option or all top options are similar enough that they can be combined into a single option.


In this example, looking at the next option gives a completion where the trigonometric functions are computed only once:
